Dynamics 365 Business Central: Payroll Processing using Standard System (Setup) - Pt. 1
Hi Readers,
We will look at how you can process a payroll in a small organization (around 2-5 employees) to ensure you have a good record per employee and necessary statutotry payments.
This post will focus on the setups and in part 2 we will look at the processing.
Chart of Accounts Setup
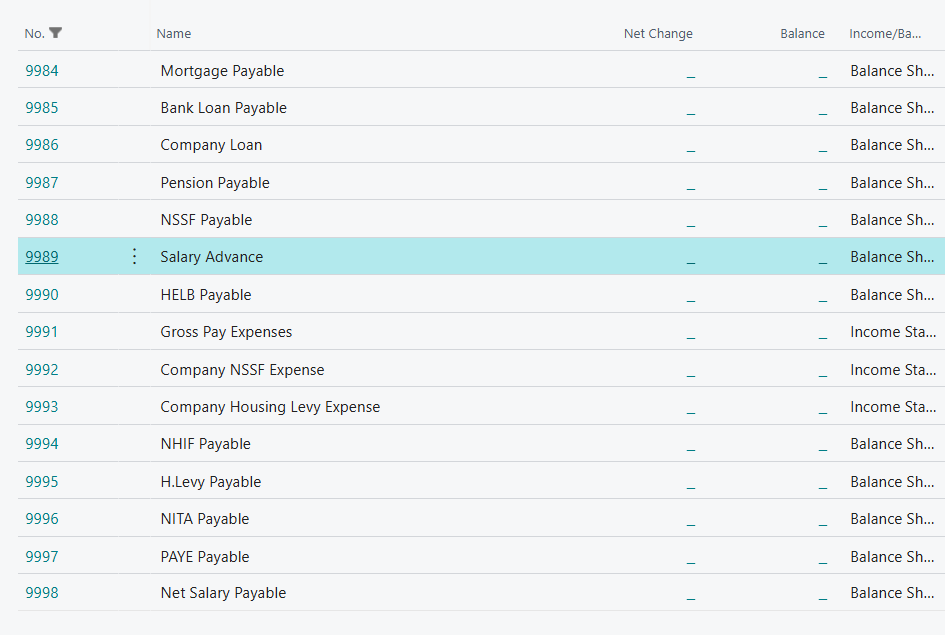
I have created the following accounts in the system for our use.
Vendor Setup
Employee Setups
The employees will be setup as vendors. The following setups can be done:
- The Vendor no. can be used as the employee number.
- The Employee details such as the email address can be inserted into the Address.
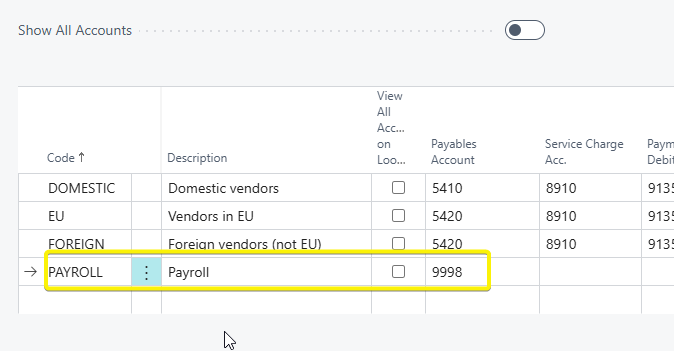
- We will create a new Payroll Vendor posting group. The posting group will be used to post to the Net Salary Payable of the employee, therefore , I will link to account 9998 as shown below
- For the Gen.Bus Posting Group , you can default it similar to your local vendor grouping.
- For the and VAT Bus. Posting Group, you can create a PAYROLL one to distinguish it from other entries in the VAT entries.
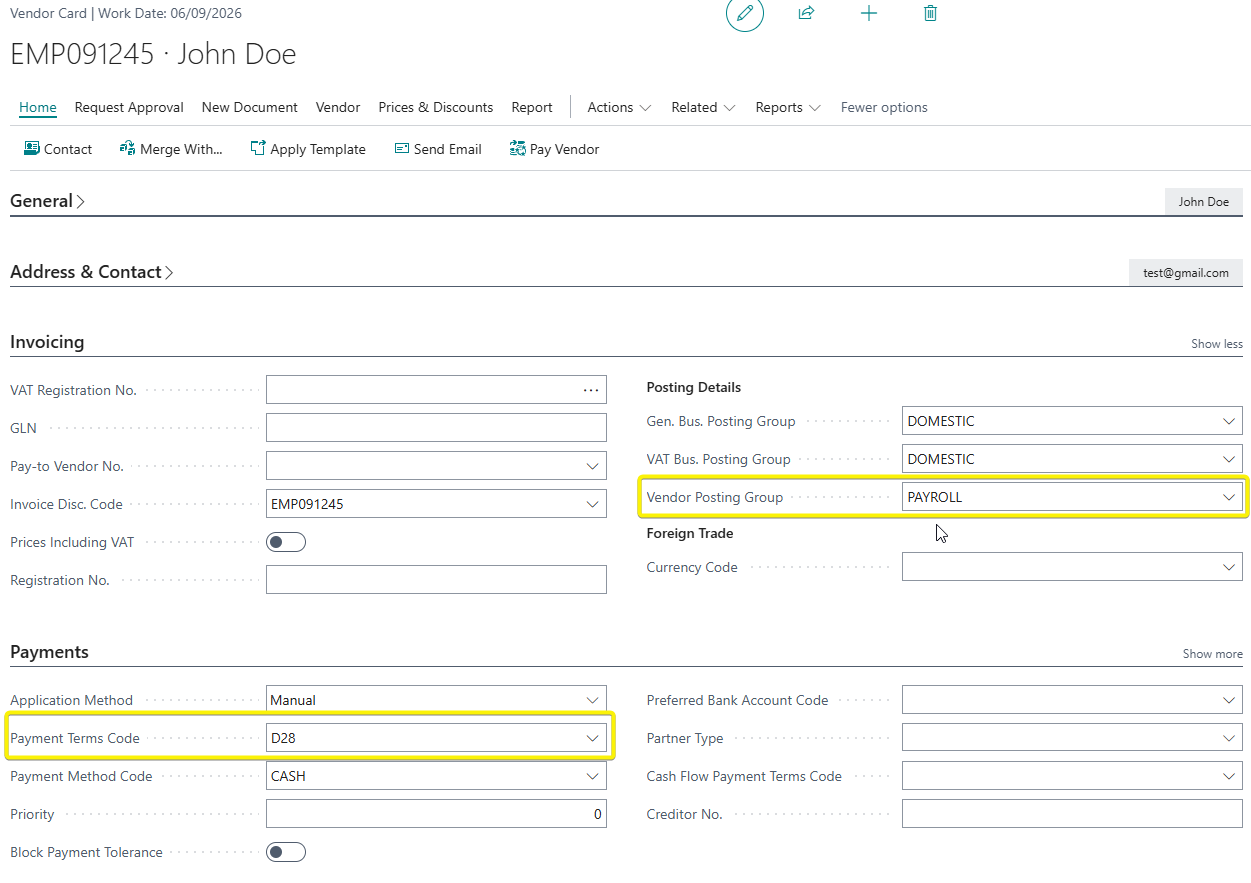
- You can also the payment terms if the salary is due by the end of the month. e.g if by end of the month - CM, by 5th of the following month - CM+5D
Employer Setups
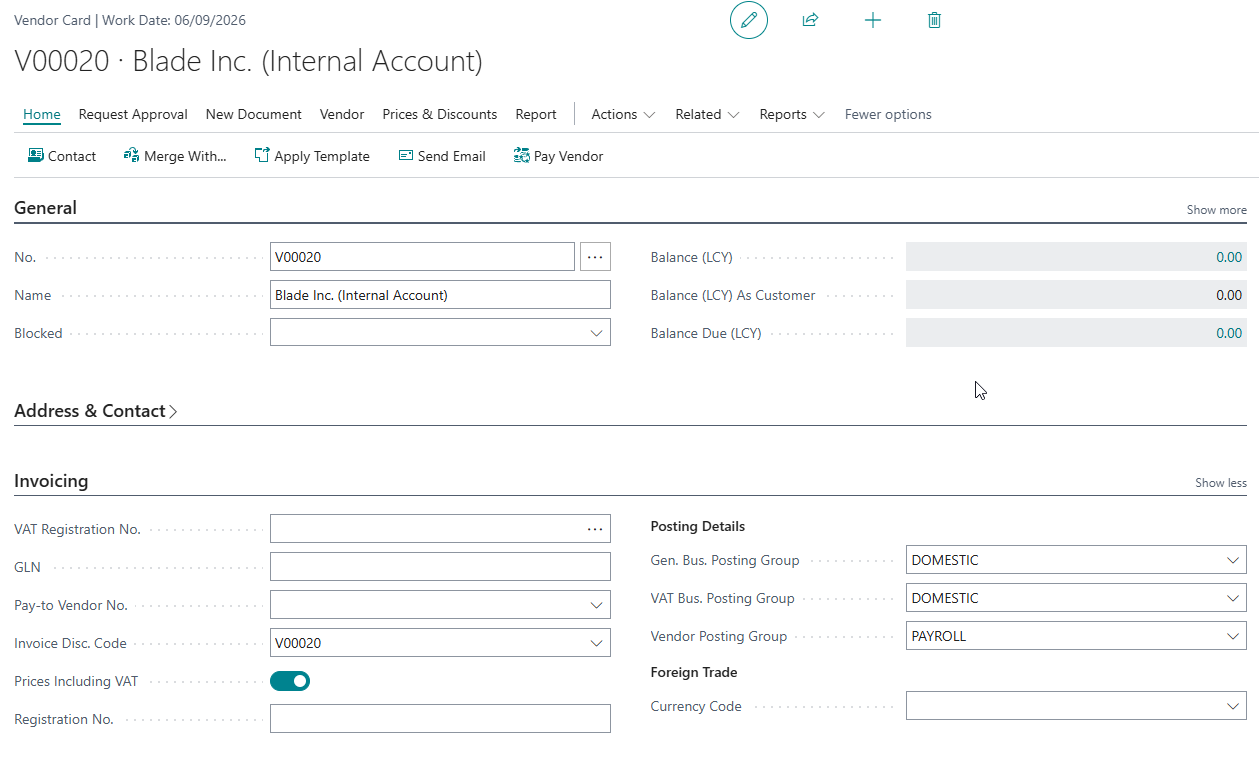
The employer will be setup as vendor too - internal. Similar setups can be done to the vendor above.
The employer account is used to record company expenses - Housing Levy , NITA ( if applicable ) & NHIF
Payroll Slip Setup
Employee Setups
We can now setup our Payroll slip. For this i will use the recurring purchase lines functionality. Recurring Purchase Lines allow you to store frequently used lines.
Search for Recurring Purchase Lines.
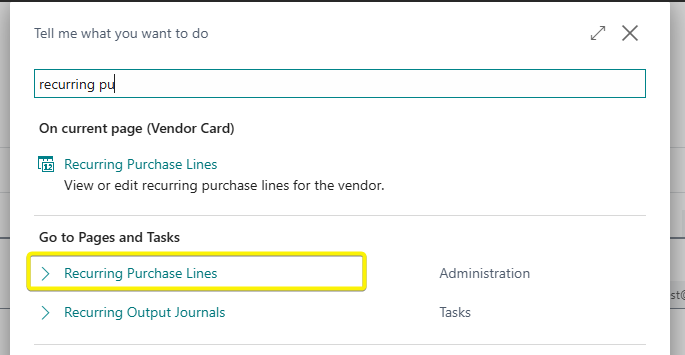
In the Window that opens, create a new Purchase Recurring Line Grouping. The click on Manage >> View
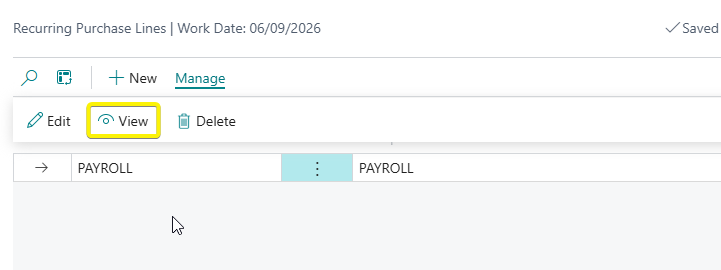
In the recurring lines window, add the lines as below to resemble a payslip format. I have added the earnings with a deductions section also and their respective G/L accounts. Deductions have a quantity of -1.
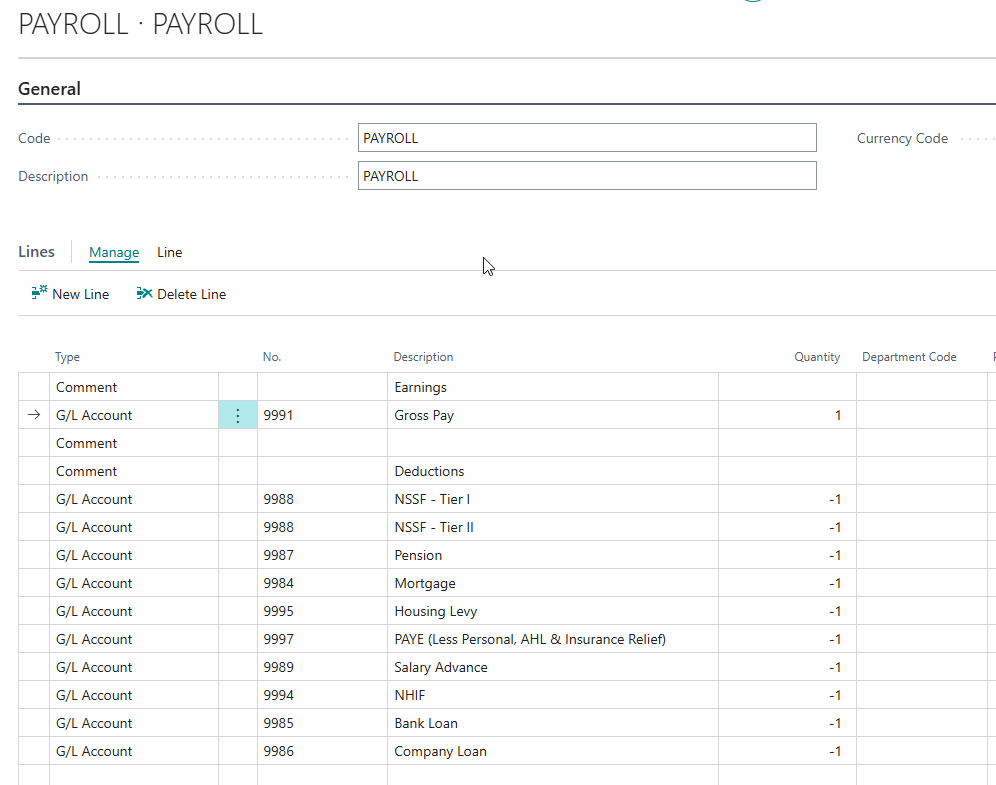
This lines will be used repeatedly each month thus saving us time from adding them manually.
Now we need to link our vendor(employees) with this recurring purchase line.
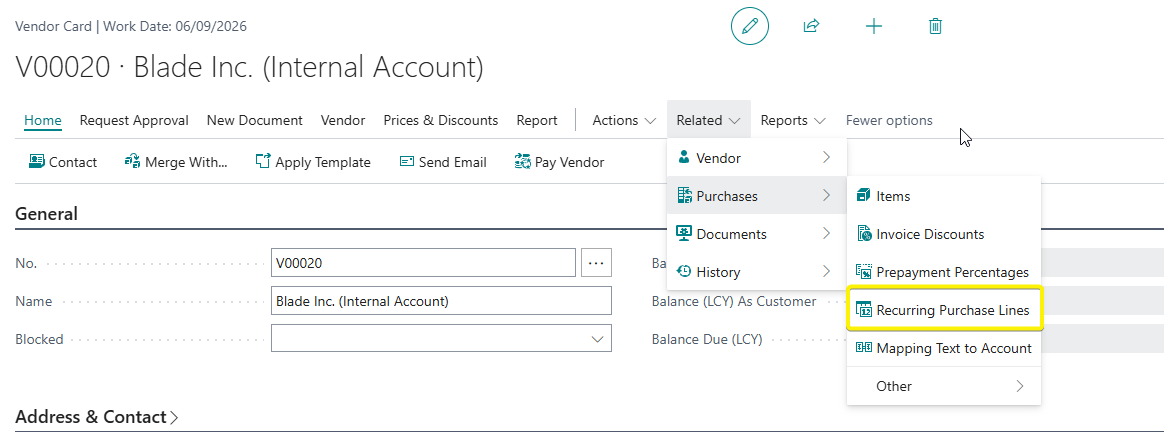
On the vendor card, click on Related >> Purchases >> Recurring Purchase Lines
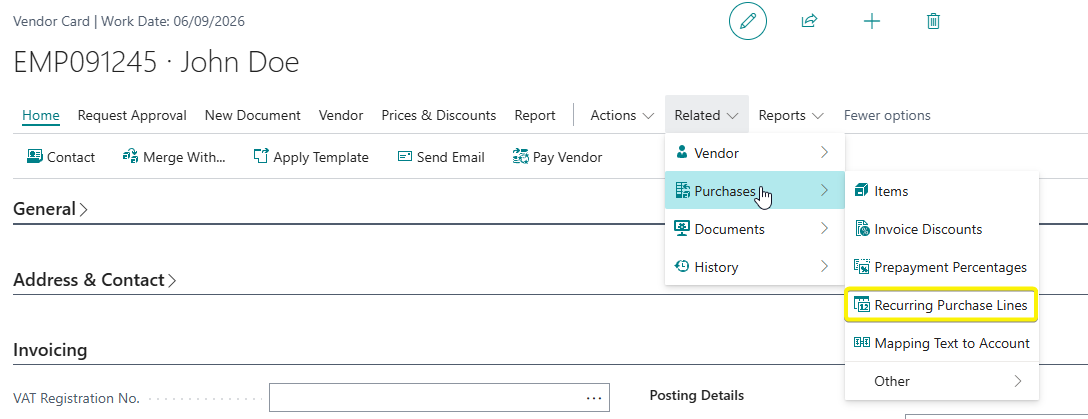
Pick the recurring purchase line code that was created. On the Insert Rec. Lines On Invoices / Cr. Memos, pick Always Ask which means that the system will prompt to ask if to add the recurring lines.

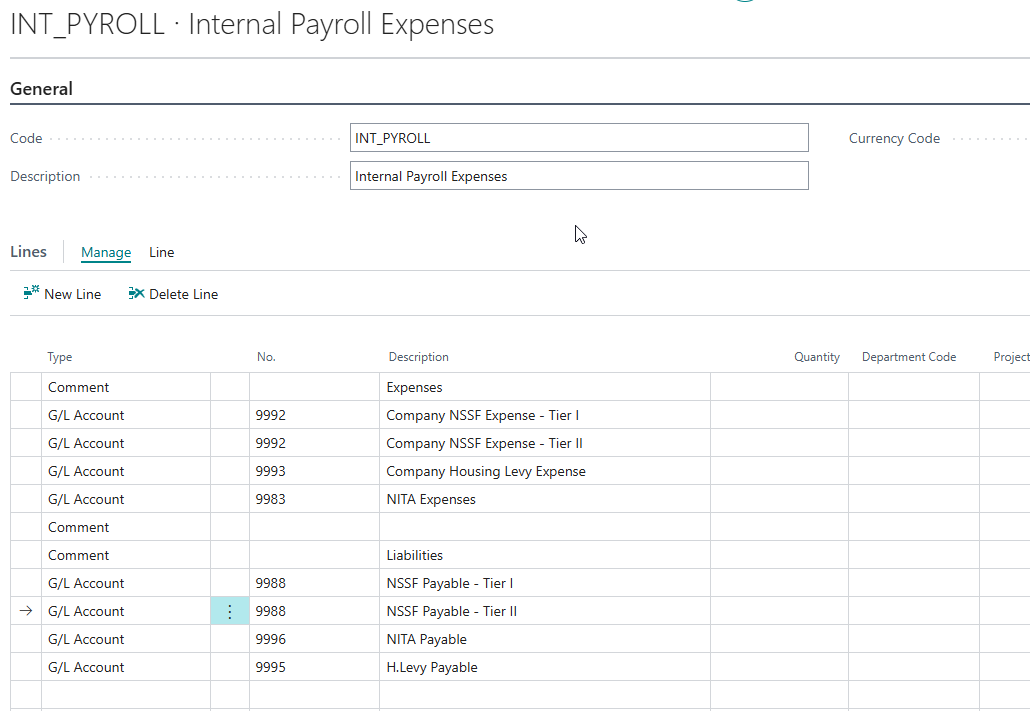
Employer Setups
Similar to above, set up an additional Recurring Purchase Line as below

Now that we have all our setups, lets process a sample payroll for the employee in Pt. 2
Link to Pt.2 Pt. 2 - Processing Payroll